Fabric.js实作: 自订图片裁切
2018-11-28 12:27:14
2663 次阅读
1 个评论

在经过了两天的裁切介绍,今天要来介绍另外一种方式来做图片的裁切!
透过实作图片裁切功能,来了解 image.crop 这个属性的使用。
来实现能够让使用者自订想要裁切的范围。
一起来看看该怎麼做吧
新增图片
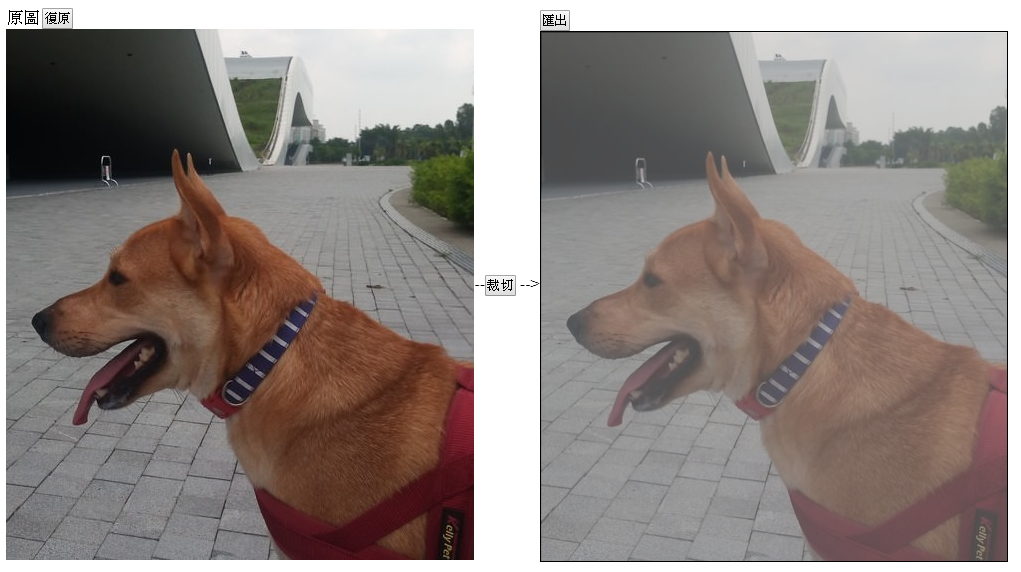
这边先新增一张图片后,将 canvas 的大小动态变成图片的原始大小。
并且新增一个和图片一样大的半透明遮罩让使用者选取。
可使用 naturalWidth 、 naturalHeight 来取得读取图片的原始大小。
img = new fabric.Image(imgEl, {
    top: 0,
    left: 0,
    selectable: false
  })
  canvas.setWidth(imgEl.naturalWidth)
  canvas.setHeight(imgEl.naturalHeight)
  userClipPath = new fabric.Rect({
    width: imgEl.naturalWidth, // 图片原始大小
    height: imgEl.naturalHeight,
    fill: 'rgb(178, 178, 178, 0.4)',
  })
  canvas.add(img)
  canvas.add(userClipPath)
得到和图片一样大的 canvas 图片
crop 属性
crop 属性為 fabric.Image 专属的属性,可以透过设定 cropX、sropY 来设定裁切的起始位置,并且使用 width、height 决定大小。
让我们看看下面的图解。
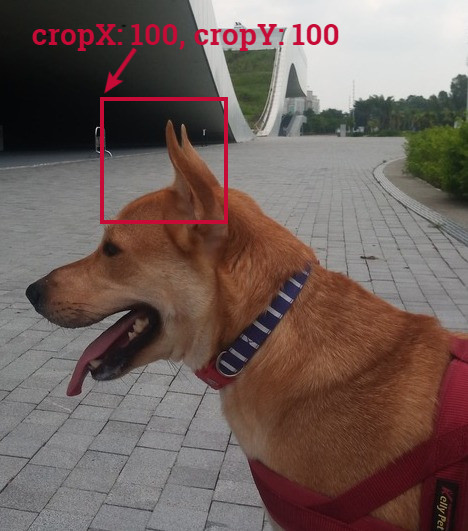
程式就会是这样写的。
img.set({
    cropX: 100,
    cropY: 100,
    width: 100,
    height: 100
  })
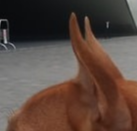
出来的结果会是这样
实际使用 crop 属性
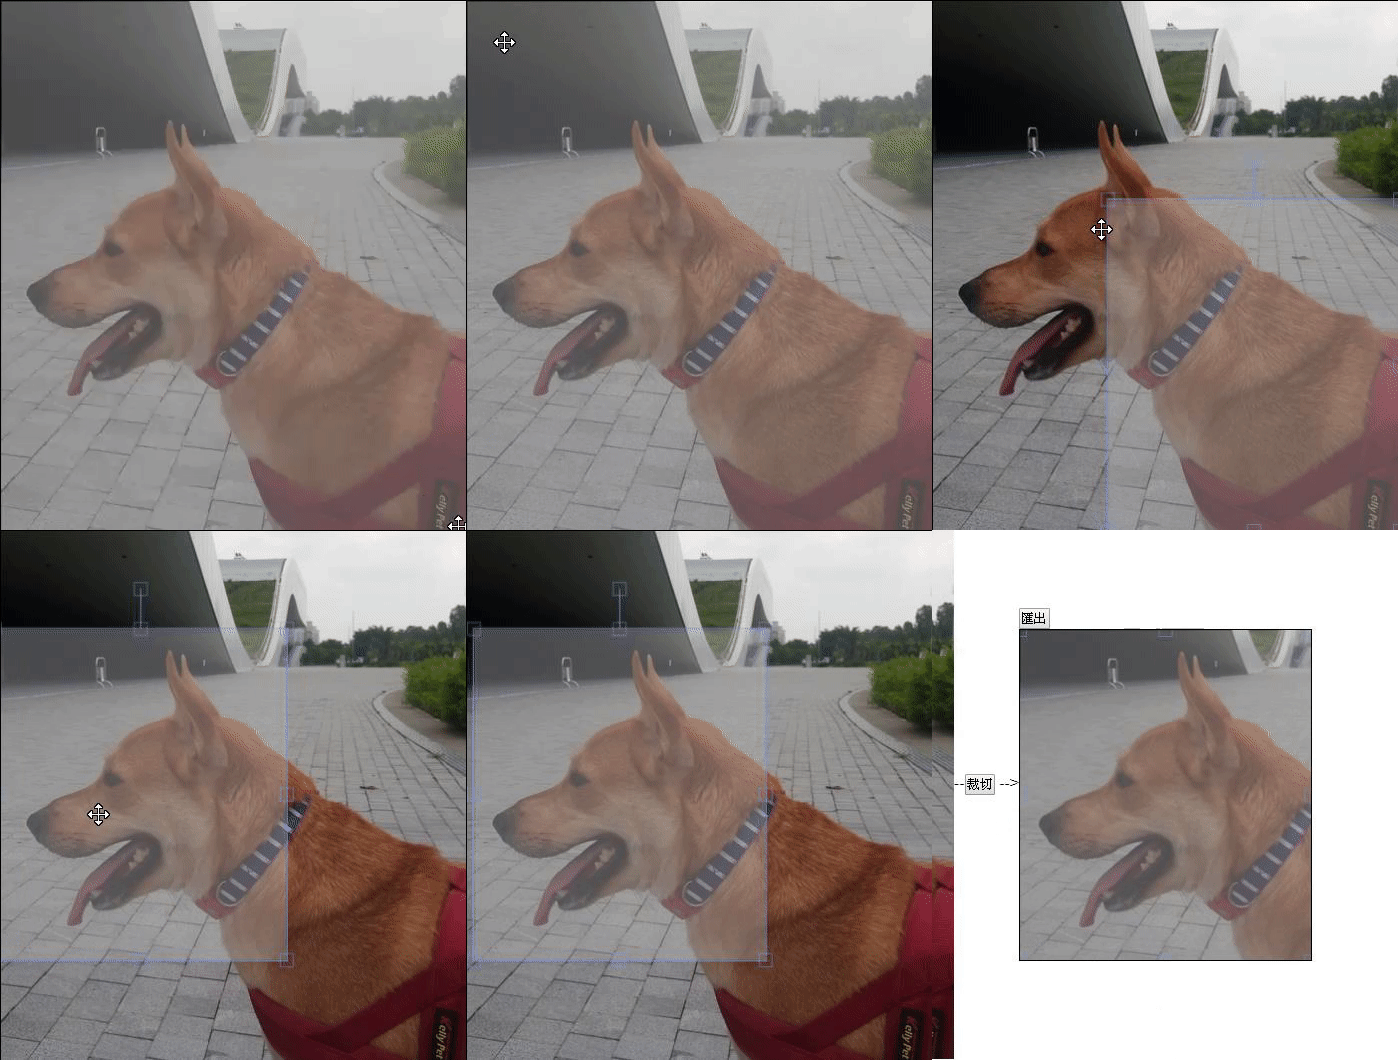
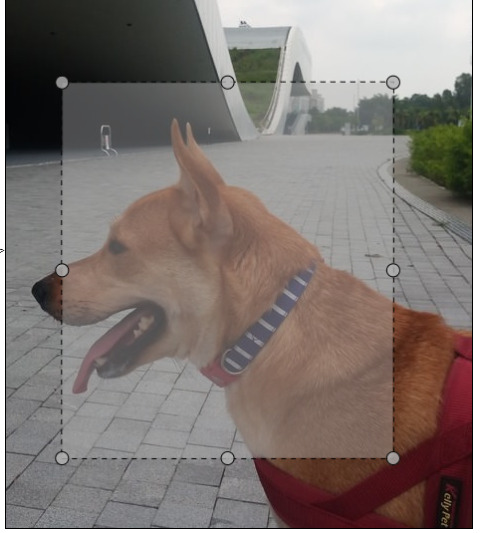
这边我想要让使用者自己订出想要裁切的范围,所以我们可以让使用者调整半透明矩形,调整完当使用者点选 "裁切" 按钮后。
再去抓取目前半透明矩形的位置和形状,并且更改图片的 cropX、cropY、width、height 属性,并且动态改变 canvas 的大小。
因為使用者可能不只裁切一次,所以我们需要纪录目前裁切位置在哪边来做累加,所以使用 nowClip 物件纪录目前的裁切起始位置。
let nowClip = {
  x: 0,
  y: 0
}

function clipImage () {
  console.log('clip!')
  const newImgCrop = userClipPath.getBoundingRect()
  console.log(newImgCrop)
  canvas.setWidth(newImgCrop.width)
  canvas.setHeight(newImgCrop.height)
  img.set({
    cropX: newImgCrop.left + nowClip.x,
    cropY: newImgCrop.top + nowClip.y,
    width: newImgCrop.width,
    height: newImgCrop.height
  })
  // 校正位置
  nowClip.x += newImgCrop.left
  nowClip.y += newImgCrop.top
  userClipPath.set({
    left: 0,
    top: 0
  })
  userClipPath.setCoords()
  canvas.renderAll()
}
加入其他功能
最后再加入一些常用的功能,和修改一些细节
匯出图片
须注意匯出时因為还有矩形遮罩,我这边不让矩形遮罩一起被匯出成图档的方法是将透明度先调成 0,匯出后在加入回来。
function output () {
  // 用来让使用者看的遮罩不想入镜
  userClipPath.opacity = 0
  const dataURL = canvas.toDataURL({
    format: `image/jpeg`,
    top: 0,
    left: 0,
    width: canvas.width,
    height: canvas.height,
    multiplier: 1
  })
  const a = document.createElement('a')
  a.href = dataURL
  a.download = `output.jpeg`
  document.body.appendChild(a)
  a.click()
  document.body.removeChild(a)
  userClipPath.opacity = 1
  canvas.renderAll()
}
还原图片
还原图片做法很简单,就将 canvas 清除后,再次做原本刚进入时,新增图片和矩形遮罩的动作。
function reset () {
  canvas.clear()
  initCanvas()
}
修改边框样式
最后可以在做一些矩形遮罩边框的调整(原来的框实在不是很好看...)
参考 Day 15 - Fabricjs 物件控制项样式调整
本日小结
今日练习使用 Image.cropX、Image.cropY 达到图片裁切的效果。
并且做出让使用者能够自订裁切区块的功能。